Pages

Wednesday, March 8, 2017

Why listening to the Suzuki CD everyday benefits first year students!

Learning to play a musical instrument is much like learning a new language. If we were to learn a new language by reading a new book, our memorization of the words may be great but our pronunciation would likely be terrible. Similarly, if a student practices and plays violin from a book, their memorization of the notes and fingering might be great but their tone and rhythm won't be. The consistency and repetition is very important.

 Learning to play the twinkle variations is like learning to talk- listening and practice is important, and repetition is even more important. I am able to tell by listening to a student playing who has listened to the CD and who has not!

We have heard from a lot of families that they simply don't have a CD player to listen to their CD. This is becoming a common phenomenon with the shift in technology. We have a dropbox file with all of the songs that you can download to your phone or computer. You can also download it from Amazon at a cost.

Ways of inactively listening to the CD:

  • simply play it in the car and have it on in the background
  • play it during bath time, before bed (we have a few students that can't go to sleep without listening to the CD after they made this their habit!), while playing with toys have it on in the background.
ways of actively listening to the CD: 
  • Sing along to the lyrics (written by Music House teachers and other Suzuki teachers) 
  • dance along
  • play along- the songs on the CD are played quite fast and may be hard to play violin along to (though your child can definitely try!) but you can also play along to the rhythm with shakers or other rhythm instruments!
  • hum along 
  • come up with your own fun way of listening to the CD together with your child! Listening doesn't have to be a chore, the more they listen to the CD the more they will enjoy the songs! 


Tuesday, November 15, 2016

Twinkle Variation Practice Video, with Ms. Ashley!


Practice Monkey Song with Ms. Ashley!

Play along with Ms. Ashley at home! Remember: 
  • "Curly" fingers, use the tip of your finger and press down hard on the A string!
  • Play between the tapes on your bow
  • Stand up tall and proud! 
  • Bow "down up down up down up" for each note of the Monkey Song 


Here are the lyrics and the notes: 


Tuesday, October 25, 2016

Agassiz Beginning Violinists Demonstrate great violin positions!

Agassiz Beginning Violin Class has violin position down! Look at how they are using the strength of their neck to hold their violins- not their violin arm. Violins are over their shoulders- nice job! 


Monday, October 17, 2016

Practice See The Pretty Flowers with Ms. Mariah!


This is a 5 minute practice video, Practice see the Pretty Flowers along with Ms. Mariah 10 times. Repetition is the absolute BEST way to practice. 


Here's a helpful visual too!


Sunday, October 9, 2016

Practice Video for 7 year olds and up!

If your young violinist is in 2nd grade or older, they are probably starting to learn their first song called "The Flower Song."

The Flower Song goes like this:

"See the Pretty Flowers" on open E string, no fingers down.

"Blooming in the Garden" on E string, 1 finger down- this note is called F#.

"See the Pretty Flowers" on open E string, no fingers down.

"Red and Green and Purple" on open A string, no fingers down.

On each note, the rhythm is Mississippi Stop Stop. ("See the pretty flowers" is the same rhythm as "Mississippi Stop Stop")

In this video, the students have just begun learning it, so they are stopping before each note and making sure, for example, when they set their first finger on the E string, that their finger is "curly" or forming a "bridge." They should be placing their first finger down at the tip of their first finger.


Practice Video: Practice Mississippi Stop Stop with Ms. Ashley

In this video, not only do we practice the "Mississippi Stop Stop" rhythm, but we practice our routine to get properly set up before putting the bow on the string. Follow along with us!

Here is what is necessary to check before starting to play- for a beginning violinists, this is very important to form great violin playing habits:

  1. "Violin Statue" to get the violin on the (left) shoulder (make sure after doing the violin statue that you haven't moved the violin to your chest- we call that a "violin beard!") Here is video of just violin statue.
  2. Check bow hold- thumb is bent under the frog, fingers are hanging all the way to the edge of the frog, and pinky is on top! If you tell your young violinists this at home they will show you this great bow hold. You can also check this blog entry to see examples!
  3. Check that feet are a few inches apart and you're standing up straight!
(The video is directly from class- I apologize for the poor quality and if it is difficult to hear, see if it is helpful for your child to practice along, and then practice without the video after it is over)


Tuesday, September 27, 2016

Practice with Ms. Ashley and Pritzker Beginning Violinists!

Calling all Beginning Violinists! Get out your bows, get into your best bow hold (with your right hand/your bow hand!) and bow with Ms. Ashley and Pritzker's beginning violin class. When you hear Ms. Ashley play the "Mississippi" rhythm on her violin, bow "Down Up" in the air. Sing along while you bow! The second time around, bow in the air "down up down up down up." 


Friday, September 23, 2016

Practice the violin statue with Nia!

Here's another, perhaps easier to follow, video of us doing violin statue. Follow along at home! 


Thursday, September 22, 2016

Violin Statue!

Warning! I am not a videographer. The videos you will see in this blog are all raw footage directly from the classroom! I hope that they still give you a good vision of what happens in violin class and how you can help your child at home. This weeks homework is to practice violin statues. 

Here is what you need to know about violin statue:

1. Start in rest position: feet together, violin tucked under the right arm, bow is also in the right hand under the pointer finger (we call that "bow hooks") 
2. With the left hand, grab the violin by the "violin shoulder" underneath the neck of the violin
3. Go out (left arm should be straight in "out")
4. Upside down (see video- the scroll of the violin should go backwards)
5. bend your arm and put your violin on your head- scroll should be pointing directly to your left
6. drag the violin all the way down the side of your face until it lands on your shoulder
7. pick up your chin and turn your head to the left, land your chin on the chin rest

VOILA! 
The video should help and having your child watch should bring back fond memories from class!


Wednesday, September 21, 2016

The First Weeks of Beginning Violin Class!

Welcome to the violin blog for this 2016-2017 school year! We are looking forward to sharing all that our violinists are learning this year. They are already moving so quickly!

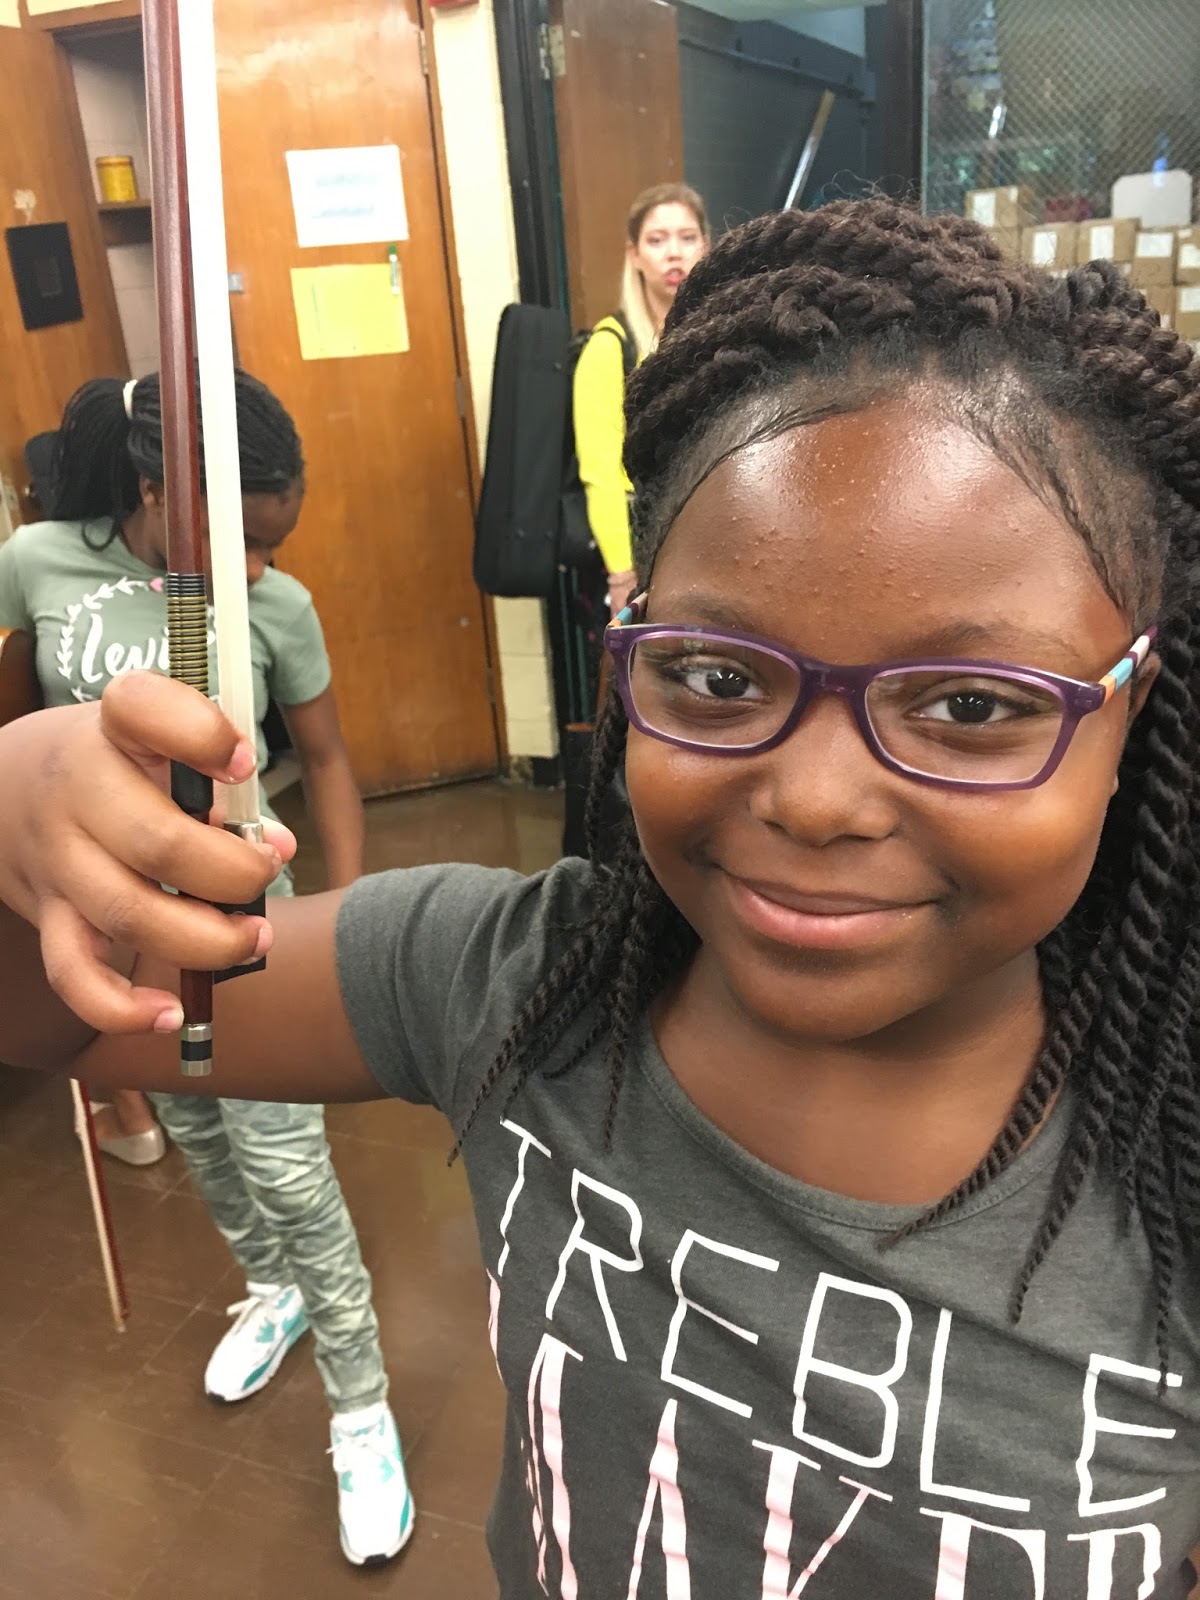
So far, violinists are learning how to hold the bow and the violin. This takes a lot of practice and you would be surprised at how much hard work it takes for little fingers to grip the bow in just the right way: bent thumb, pinky on top, fingers hanging over the edge. Here are our Pritzker and Skinner beginning students with big smiles and beautiful bow holds. This week, students should practice their bow holds- practice getting into bow hold, put it back down and shake it out, and then do it again. Or have your violinist sing our song "up like a rocket" for you while practicing their bow hold!


Students have also been learning about what it means to be respectful. In violin class, not only are we working hard to grow beautiful musicians, but we are also working to build character by teaching students about the respect of their violin, their classmates, their classroom and their teacher. We learn that the violin is a very special object that needs a lot of care. Our violins are either in the case, in playing position while we are playing our violin, or in rest position like this (under the bow arm or the right arm!)
We sing "Rest position, feet in line, scroll out front that's mighty fine, check your bridge 'cause it should be, peeking out at you and me, now it's time to take a bow, hi toes hi toes hi toes now"- Have your violinist sing this to you at home in their best rest position!